Creating a Pollinator Patch

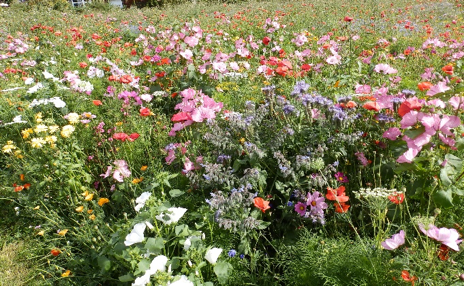
A pollinator patch is a bed of annual flowers which may be native, non-native or a mixture of both. To be successful, the ground needs to be meticulously prepared which involves digging the site over, removing all existing vegetation especially grasses, docks and nettles.
Seed is sown in the Spring. You will need about five grams of seed per square metre of meadow. As the sowing is so thin it is best to mix the seed with dry silver sand (the type used for block paving). Do not use builders’ sand as it is not fine enough and is usually too damp. Pale-coloured sand 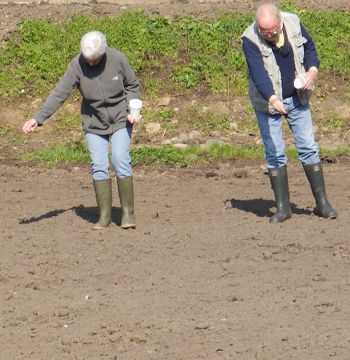 helps you see areas that you’ve already sown and whether you have missed anywhere. The correct ratio is usually three-five parts sand to one of seed.
Just scatter the seed as you walk across the ground. To try and get an even coverage, split your seeds into batches and sow one batch walking in one direction and another batch walking at 90 degrees.
There is no need to rake the seed in or cover it with soil, but gently walk across it so that the seeds are in contact with the soil. You may need to net it from birds.
Keep it well watered until it has established.
Collecting and storing seeds from your patch
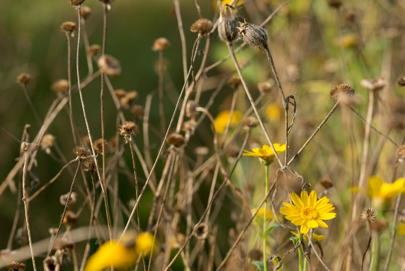 In the late summer or early autumn, once all the flowers have died and set seed, you can collect the seed for sowing next year. It is important to harvest your seeds at the right time, but this is not complicated or difficult. Remember, a flower will naturally drop its seeds when it is ready, so the best way to tell if the seeds are ready to be harvested is to feel the flower head carefully with your hand. If the seeds easily fall away, this means they are ready. With a flower like a poppy where the seeds are stored inside the head, you will be able to hear the seeds rattling loosely inside when they’re ready.
You can sometimes pick or strip individual seeds from the flower head with your hand, but the easiest way to harvest your seeds is often to just cut off the whole flower head, very carefully, with scissors or secateurs.
Next, spread the flower heads out on newspaper and leave in a cool, dry, airy place to allow the seeds to fully dry. You will know the flower heads are dry enough when they feel dry and crumbly to the touch.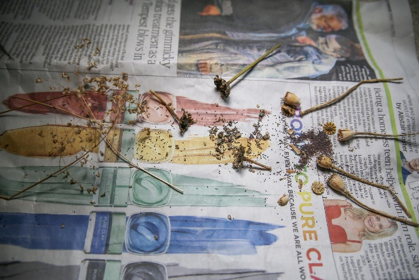
Do not put your seeds in an airing cupboard to dry as this will be far too warm and will damage the seeds.
When the seeds and flower heads are all dried out, you can release the seeds by gently crushing the flower heads. Gently shaking the crushed material in a jar or other container should cause the seeds to fall to the bottom, allowing you to remove any small pieces of dried up plant or flower from the top. Do not worry about getting the seeds completely clean! This would be a fiddly process and is not necessary as the seeds will grow just as well with other pieces of organic matter mixed in.
If possible, store your seeds in a cotton bag and keep them in a cool, dry place, such as a fridge, but be very careful the seeds do not get mistaken for food as some may be poisonous!
If you do not have a cotton bag, you can use a normal paper envelope. Never store your seeds in plastic because this can cause condensation to form which will make the seeds damp and mouldy.
Your patch can then be prepared and left bare over-winter.
Creating a wildflower meadow
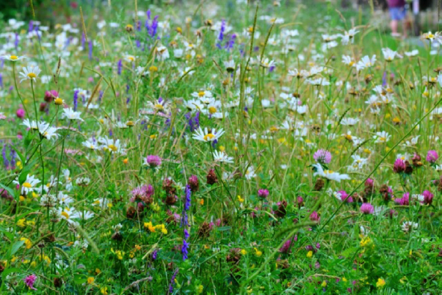
A wildflower meadow is an area of permanent grassland where native wildflowers grow.
There are three ways to create a wildflower meadow.
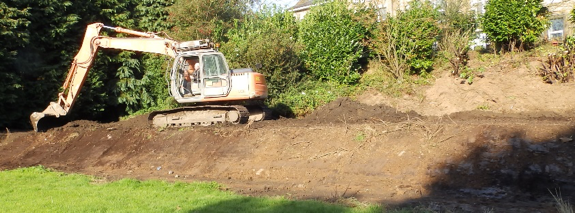 Option 1 is to start from scratch, preparing the land in a similar way as you would for a pollinator patch and then sowing a suitable meadow seed mix. The only difference in preparing the site is that you might want to consider removing some of the top soil in order to reduce the fertility of the soil, making it more suitable for wildflowers. Depending on the size of your proposed meadow, this might best be done by machinery.
Option 2 is to convert an existing piece of lawn or grassland. Areas that are 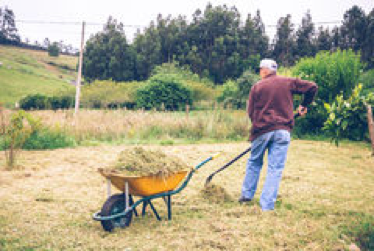 naturally low in fertility are ideal, but if yours is not, there are several things you can do to bring the nutrient levels down and prevent vigorous grasses from taking over. These include:
• not using fertilisers or weed killers,
• mowing the area regularly and keeping the grass very short
• removing all clippings to prevent nutrients being returned to the soil.
You may need to keep this up for two years until it is ready to be planted with wildflowers. Seeding existing grassland is rarely successful. The wildflowers you use should largely depend on your soil conditions and will establish best if planted in the autumn as small plug plants.
One flower deserves a special mention. Yellow Rattle is a lovely meadow flower with a slightly sinister character. Its roots tap into those of grasses, stealing their nutrients and suppressing their growth. This keeps them in check and allows many other meadow flowers to thrive with the reduced grass growth. It does such a good job it’s sometimes called “the meadow maker”.
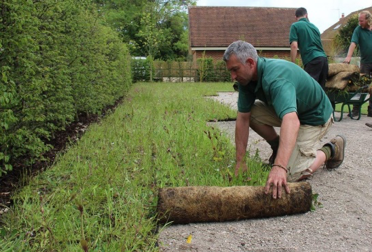 Option 3 is to prepare your site in the same way as for a pollinator patch and then lay rolls of specialist wildflower meadow turf. This is very expensive, although success is almost guaranteed unless you fail to water in a dry period.
Caring for your wildflower meadow
Once you have a meadow with some grass and flowers, the absolute key to maintaining it is through mowing.
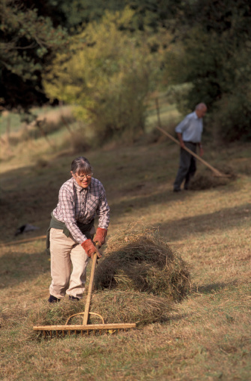 The basic yearly pattern is to leave the meadow alone until the first grass cut in late summer, any time from the end of July until mid September. This gives wildflowers the chance to set and shed their seed. The exact timing depends on the year and the weather, but a later cut will help species like knapweed and orchids to spread, while earlier cuts can help control competitive species. Try cutting different areas at different times and see how your wildflowers respond. Cut the grass down hard to a few inches in height but, if you can, it’s also good to leave some strips or edges uncut as refuges for insects.
When you cut your meadow, you may wish to leave the cuttings for about a week in order that any remaining flower seeds will dry out, drop to the soil and grow next year. However, it is critical to remove all the cuttings in order to keep the soil fertility down. You may also wish to cut the meadow again later in the year in order to keep the grass down.
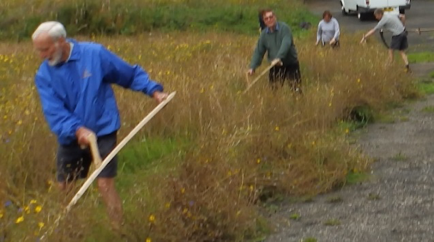
You will almost certainly find that when you come to make the main cut at the end of the summer, your meadow is too high to be cut with a lawn mower and will either have to be strimmed or scythed.
This annual cycle of management mimics the traditional pattern of hay-cutting followed by grazing to which many meadow flowers are adapted.
Your meadow will evolve year by year, with some species coming through strongly to start with and then others taking over. You should see bees and butterflies start to use your meadow in its first year and maybe, even grasshoppers.
Choosing your seed mix
An on-line search will show a wide range of sources offering an even wider range of seed mixes. In order to cho0se the most appropriate one(s) for your purpose, you need to be clear what your purpose is.
Do you wish to create a pollinator patch and if so:
- will this be in full sun or partial shade?
- do you want to include non-native species?
- what type of soil do you have?
Once you have decided, you can select an appropriate annual seed mix.
If you wish to create a wildflower meadow you will need to go through the same process. However, meadow mixes contain both annual and perennial flower seeds together with a range of wild grasses, such as bents, fescues and crested dogstail. Due to this, meadow mixes never produce as colourful a display as a patch of annuals but once established, and if properly maintained, will provide forage and habitat for a much greater range of insects and small mammals.
